
New Apartment Possession Checklist India (Day-of Walkthrough)
Day-of new apartment possession checklist for Indian buyers: prep before keys, bathroom & kitchen first, photo every issue, leave with a snag list—not a vague feeling.
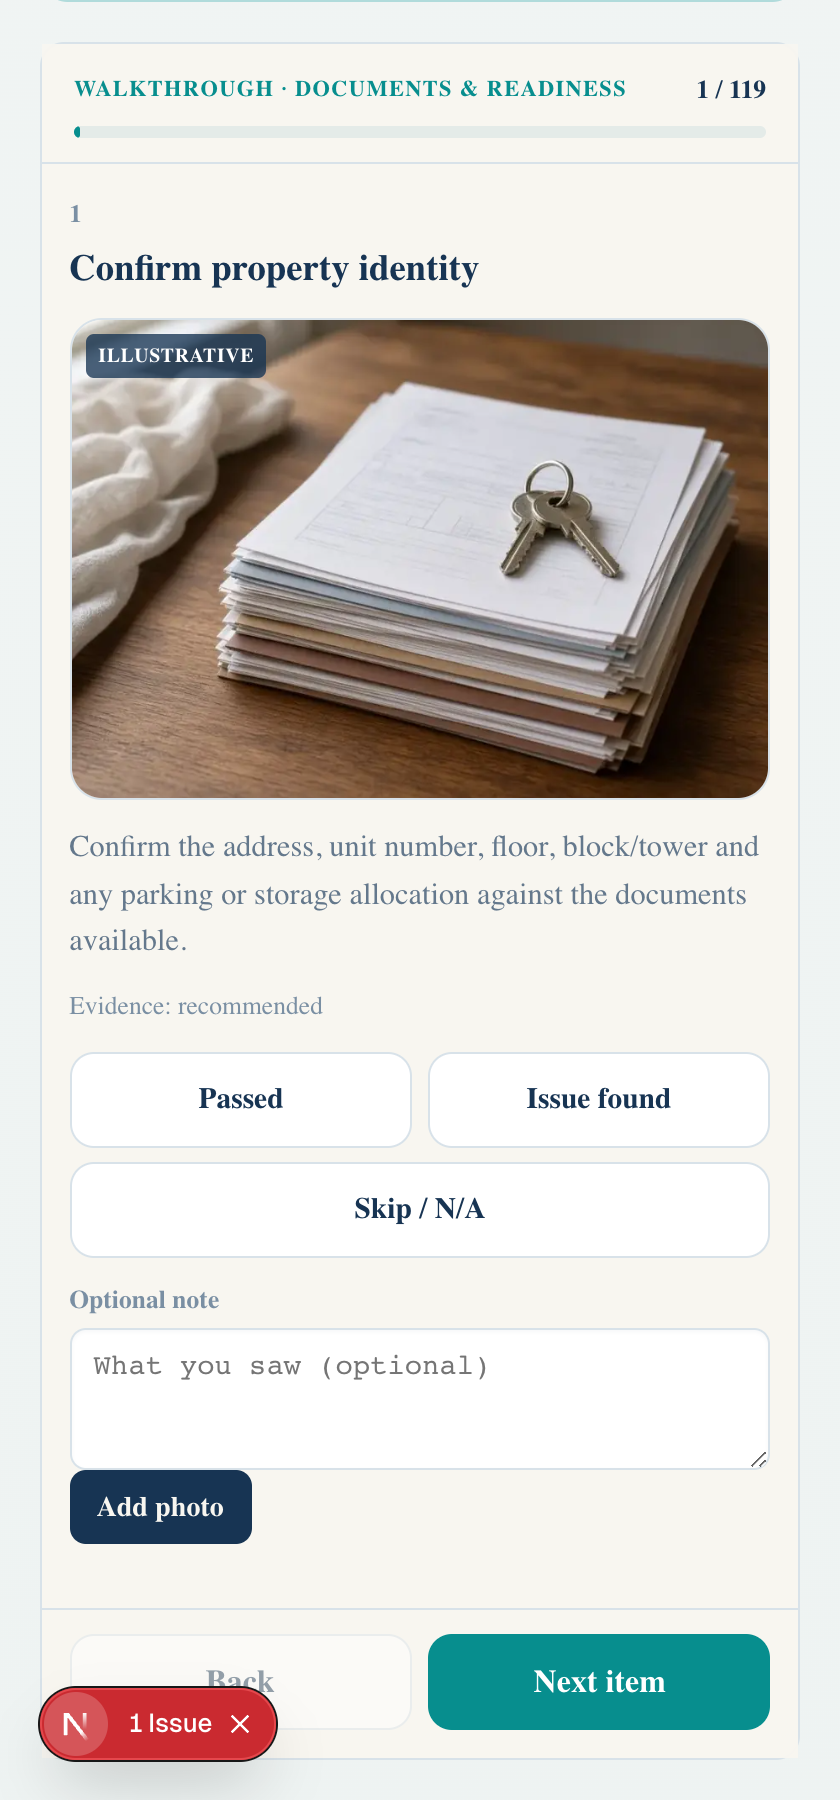
Keys in hand does not mean the walkthrough is done. Treat new apartment possession as a short project: prepare, walk room by room, leave with a documented snag list—not a vague feeling that “something was off in the bathroom.”
This guide is the day-of walkthrough companion for a new flat / apartment in India. For a broader map of categories and DIY limits, use the flat handover checklist in India. For occupancy paperwork meaning, read what an Occupancy Certificate (OC) means.
Educational only. Not a professional inspection, legal advice, or certification.
What this checklist is for
Use it when you are about to take keys for a new flat / apartment and want a calm record of visible conditions. It helps you:
- Cover wet areas, finishes, fittings, and basic services systematically
- Separate Passed / Issue found / Not tested / Not applicable
- Leave with photo-backed notes the builder’s snag desk can action
It does not certify structure, electrics, plumbing, waterproofing, valuation, or legal compliance.
Before you arrive (pre-keys)
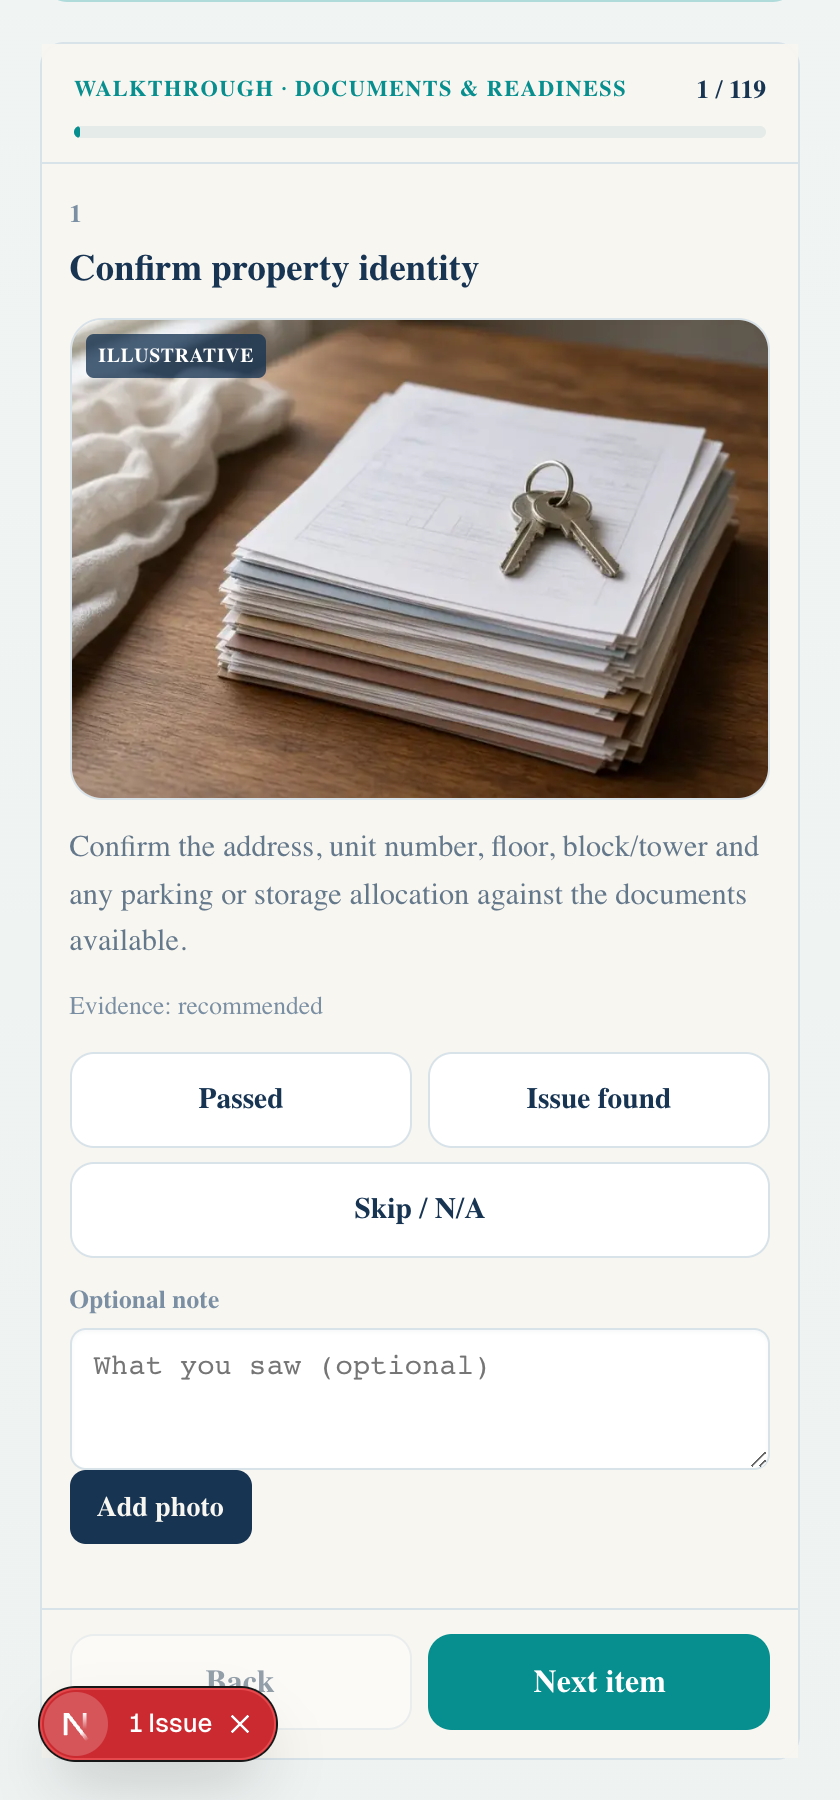
- Confirm unit number, parking, and storage against documents you already hold
- Charge your phone and free storage for photos
- Open a guest checklist in the browser — no website account needed
- Skim your possession document tracker so paperwork asks are not improvised at the door
- Block more time than a “quick tour” suggests; wet areas deserve a second pass
Bring a charger, notepad backup, and a calm co-walker if possible. Avoid photographing other residents or ID documents.
On the day: pacing
Work room by room, not random corners. A practical sequence:
- Entrance / lobby of the unit and identity vs plan
- Living / dining finishes and windows
- Bedrooms and balconies
- Kitchen (sink, points, fittings) — do this before you are tired
- Bathrooms and utility (leaks, sealant, drainage) — highest miss rate for rushed buyers
- Electrical boards and visible fixtures you can safely observe
- Parking / allotted areas if accessible
Mark each item:
- Passed — visible check looks acceptable for now
- Issue found — note + photo
- Not applicable — e.g. no balcony in this layout
- Not tested — come back before you leave; do not silently upgrade to Passed
Bathroom and kitchen first (why)
Most rushed possession tours skim wet areas. Water marks, incomplete sealant, loose fittings, and drainage issues are easier to show with photos before furniture and cleaning crews change the scene. Do bathrooms and kitchen while you still have daylight, battery, and attention—then finish living spaces.
Safe observations only: look, listen to taps run briefly, wipe and note. Do not open sealed electrical panels or run invasive tests.
Photo discipline
Photos without context age poorly. For each issue:
- Wide shot for location
- Close-up for the defect
- A short note with room name and date context
Avoid government IDs, face-heavy photos of strangers, or unnecessary personal papers in evidence you may share later. See also photo evidence on possession day.
Common possession-day mistakes
- Treating the visit as a “quick look” instead of a structured list
- Marking items Passed when you only glanced
- Capturing close-ups with no wide shot for location
- Mixing payment arguments into the snag conversation in the same thread
- Leaving without a written list the builder can acknowledge
After the walkthrough
Your snag list should travel with you. Builders often schedule follow-up visits; a clear written list reduces “we weren’t told” debates. Use a factual defect follow-up email once IDs and evidence refs are stable.
Occupancy paperwork is separate from finishes
Even when OC / possession letters look orderly, walk the unit for visible conditions. OC meaning ≠ snag-free finishes. Track document statuses in the possession document tracker; keep walkthrough notes in your checklist.
Start the free guest checklist
Open HandoverProof’s new flat / apartment checklist — progress stays on this device; export a JSON backup anytime. See a sample report for how a synthetic snag summary can look.
Also useful: Possession day tips · Snag list for builders · Documents before flat possession · DIY checklist vs home inspector
Free on iPhone
Prefer the phone in your hand on possession day? Download HandoverProof Checklist on the App Store (free). Or start the guest browser checklist. Android is coming soon. Educational DIY only — not a professional inspection.
Try it on your next walkthrough
Free on the App Store for iPhone — walk rooms, capture visible issues, leave with a clearer follow-up list. Prefer the browser? Guest checklist stays on this device with no website account. Android is coming soon.

AndroidComing soon